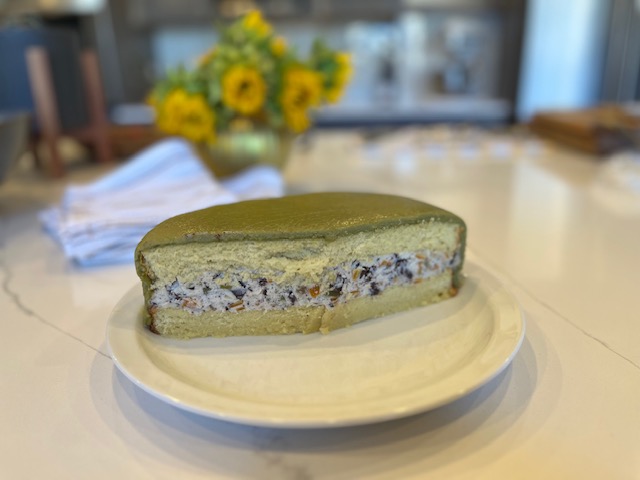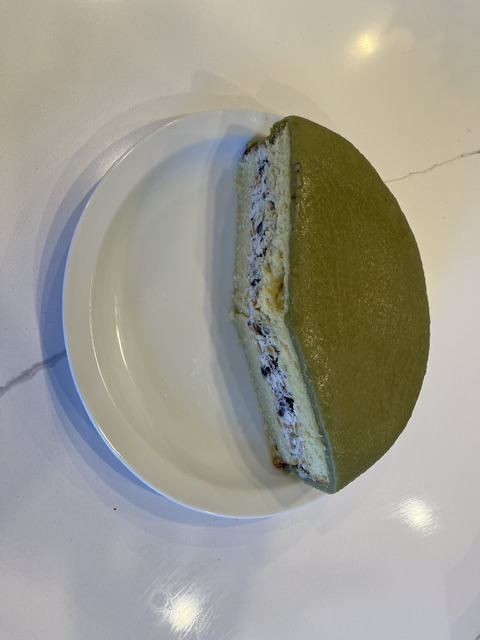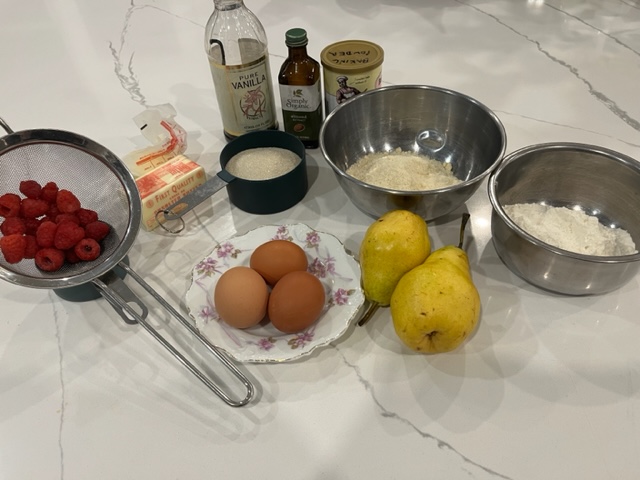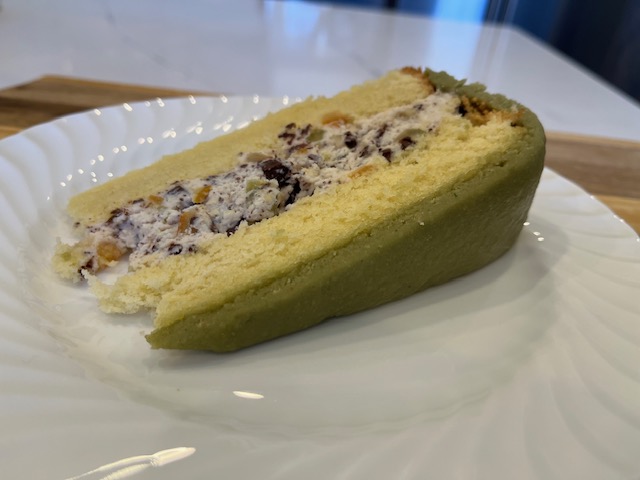
I remember eating my first cassata, in a neighborhood restaurant in Catania, Sicily in 2005. Tyrone and I had flown in from Rome, rented a car, and found a hotel room close to the center. The individually sized, three-inch cake was beautifully decorated with candied fruit and garlands of white icing. I chipped off the sugary coating to discover a layer of marzipan around a tender, citrus-flavored spongecake and ricotta and candied fruit. Originally made at Easter by nuns or by Jews for Purim, the cake is often too sweet for my taste, so I cut the sugar in all components. There’s a special cassata pan with sloping sides which I haven’t bought because I like two layers of cake around the filling.
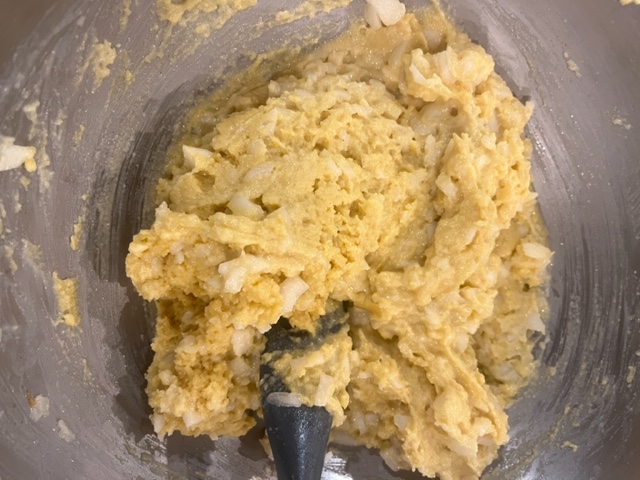
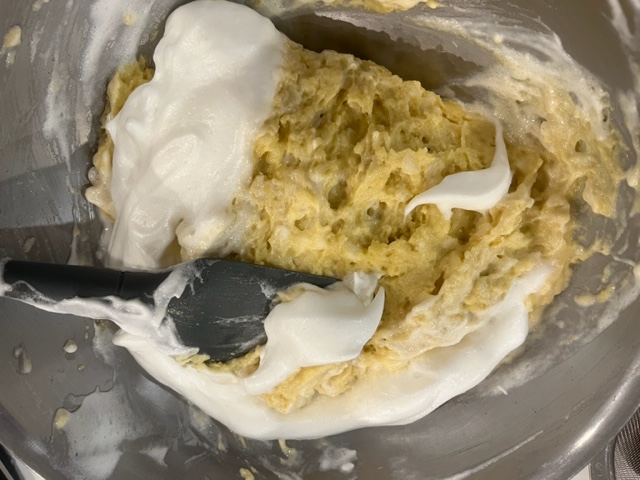
Of the ten or so cakes I call my “favorites,” cassata does not withstand much variation. The cake layers must be genoise (8 warm eggs, whipped until fluffy with 1 cup sugar, then sift/fold in 200 grams of cake or all purpose flour and 6 Tbs of clarified butter plus 2 tsp vanilla). Fill two 9″ cake pans whose bottoms are lined with parchment and greased. Bake at 350 for about 30 minutes until the cakes start to shrink from the sides of the pan. Turn out and let cool on racks.
And the filling must be ricotta and candied fruit: 2 lbs of whole milk ricotta, drained overnight in cloth or sieve, mixed with 1/2 cup each very small dice orange and citron (preferably Sicilian, no preservatives) rind, 1-2 Tbs powdered sugar, and 100 grams of bittersweet chocolate diced into pieces the same size as the candied fruit. If you can find sheep’s milk ricotta, that is more authentic and flavorful. I use Trader Joe’s “Dark Chocolate Lover’s Bar,” 85% and divided into two thin slices, which makes it easy to dice. The chocolate contains vanilla, but so does the cake.
I make the covering from marzipan (1 lb almond flour, 1 lb powdered sugar, 1/2 c corn syrup (or 2 egg whites instead of corn syrup) 1 tsp matcha tea,1-2 tsp almond extract: blend, knead, chill, then roll out into a circle large enough to cover the cake and sides. It’s an odd color green, but tea mitigates the sweetness of the marzipan, and it’s natural. You could use food coloring or you could make the marzipan from finely-ground pistachios, which are of course naturally green.
When you are ready to assemble the cassata, cut a thin layer from the tops and bottoms of the two layers. DO NOT skip this step. Genoise gets its moisture from syrup and baked tops and bottoms are gluey when wet. Make the syrup: boil 1 cup water with 1/2 cup sugar; let cool then add 5 Tbs (3 ounces) of citrus liqueur (Cointreau, Combier, Triple Sec, Limoncello, etc.) Sometimes I add a bit of desiccated lemon, lime, or orange powder (or lemon juice) to make the syrup more acidic. Find the plate you’ll assemble the cake on.
Hold a cake layer in one hand and drizzle 1/4 of the syrup over one side. Place on the plate, and drizzle with another 1/4 cup. Place the entire ricotta filling over the bottom evenly (a small angled spatula is useful). Then hold the other cake layer in one hand and drizzle with half the remaining syrup. Place it on top of the ricotta filling and finish by drizzling the remaining syrup evenly over the top layer. When I first started making syrup-moistened cakes, I experimented with using less syrup, a mistake. Use all the syrup.
Cover the cake with the thin sheet of marzipan (use powdered sugar to keep it from sticking) rolled to a 15 inch round about 1/8 inch thick (or thinner, if you can manage it). Freeze the trimmings for another use, for example, to make a layer inside another layer cake, or for stollen, or just eat it. If you want to decorate the cake with fondant and more candied fruit cut into shapes, it will look more like the cassatas in Sicily.
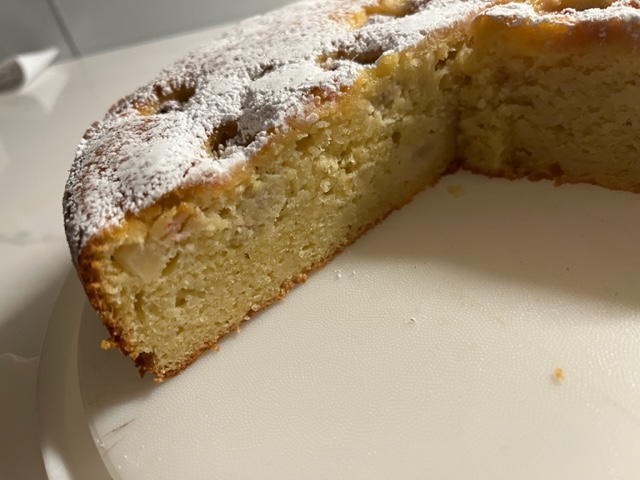
Cake (that serves at least 12) remains delicious for a week in the refrigerator and should be served cold.