What makes them “Japanese,” you might wonder. Well, Japanese cakes are leavened with whipped egg whites, and are delicately flavored. If you like chiffon cakes, sponge cakes, and cheesecakes, this is your dessert. It’s like eating a lemon and vanilla flavored cloud. You could flavor it otherwise (I’ll offer ideas below) but try this version first.
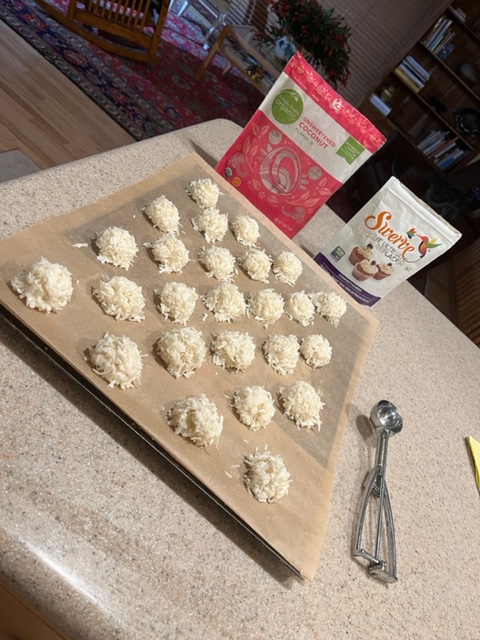
I made this cake in the 9 inch version about five times, messing with a spring form pan, wasting aluminum foil to keep it from leaking and parchment to keep it from sticking. Once the cake “fell” (but I ate it anyway–even fallen it tastes like a good cheesecake.) Now I’ve made the individual versions three times and I’ll never go back. So much easier, even fool proof. ( Note that you must taste the mixture before you bake it in order to adjust the flavoring. I’ll give you guidelines, but there’s no substitute for tasting it yourself.)
1/2 cup milk or half and half
2 Tbs. butter
8 ounces cream cheese
1/3 cup sugar, divided
1/4 cup cornstarch
1/4 cup AP flour (cornstarch and flour=50 grams together, if you have a scale, and it’s OK to sub gf flour)
flavoring: 1-2 tsp vanilla extract (or scant tsp paste), 7 drops lemon essential oil, 1/2 tsp. lemon crystals, 1/4 tsp salt
5 or 6 eggs, separated into a small bowl of yolks and a beating bowl for whites. Use 5 eggs if they are extra large, and 6 if they are large.
1/2 tsp cream of tartar
Preheat oven (NOT CONVECT) to bake at 330F and spray 9 custard cups with Baker’s Joy (or grease and flour). Baker’s Joy comes in generic brands as well, often termed “baking spray with flour.” Find a baking pan or two big enough to hold all the cups and deep enough to fill with at least 1 inch of water. (You won’t fill it with water until it’s in the oven.)
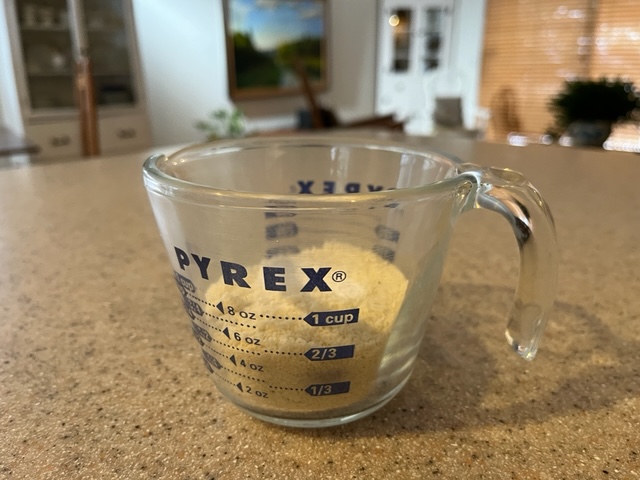
In a saucepan on very low heat, melt the cream cheese and butter in the milk (or half and half), with about half the sugar. You don’t want it to cook, just to dissolve well enough so you can whisk it smooth. Let cool to room temperature. Beat in the cornstarch and flour, then whisk in the egg yolks. Add the flavorings and taste: do you want it more lemony or more vanilla-y? This is a subtle cake, but flavorings vary in intensities. If you’re using high quality vanilla paste (no sugar added) you’ll need less. Essential oils are different. You can use a different citrus, for example lime or grapefruit. TruLemon is a company that makes good quality lemon, lime, and grapefruit crystals. I prefer crystals and essential oil to using grated rind because the latter spoils the smooth texture of the cakes. This is how it looks at this stage:

Whip the egg whites until foamy, add the cream of tartar, and continue beating until mixture holds a peak while adding the remainder of the sugar.

Fold about 1/3 of the sweetened, beaten egg whites into the flavored yolk mixture, mix well, then fold in the rest of the egg whites.

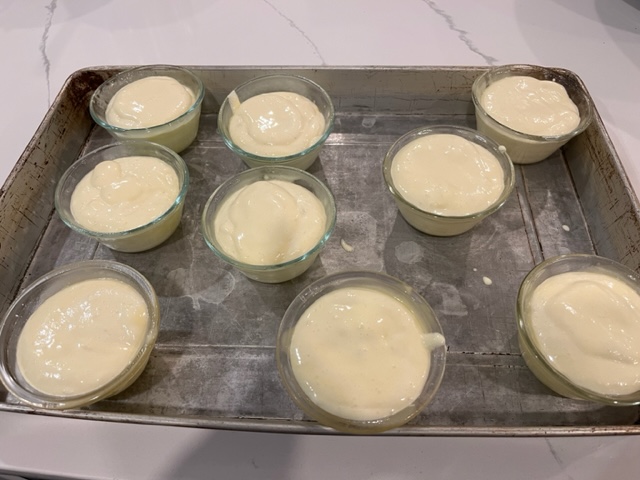
This is the batter ready to be baked. Spoon it into the prepared custard cups and place the cups into a pan (or two) big enough to hold them, and place into the preheated oven.
Use a pitcher to carefully pour hot water around the cups, at least to a height of one inch.
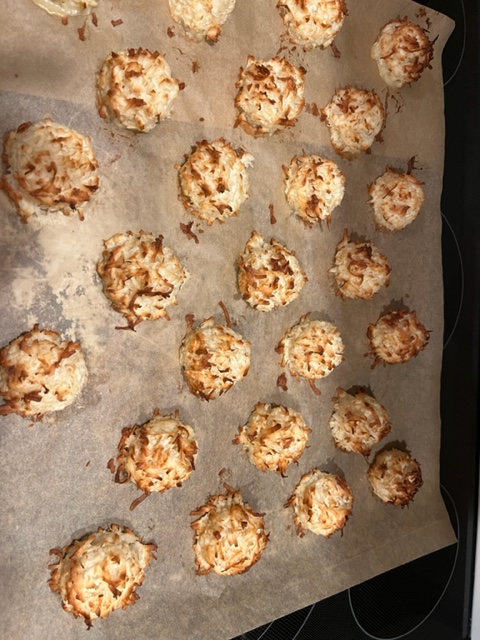
Bake for 20 minutes. This is how they will look:

Reduce the temperature to 265 and bake another 10-15 minutes, or until a tester comes out clean. The cakes will fall a little, either now or once you take them out of the oven, but they’ll still be fluffy and cloud like. I use tongs to remove them from the oven and water bath one by one, because I don’t want to risk dumping the hot water over the cakes or myself. (Remove the pan from the oven once it has cooled.)

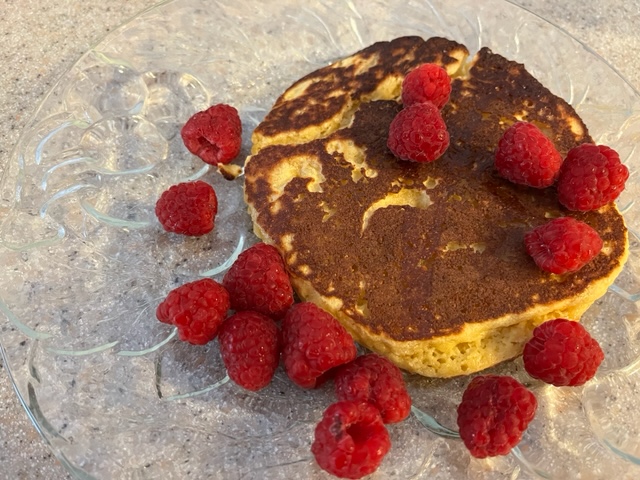
Once the custard cups are barely warm, reverse them onto your palm or a plate or cooling rack. The cakes are wonderful warm, but can also be chilled for a more traditional cheesecake. Serve with fruit puree or fresh fruit, or both. The cakes stay fresh in the refrigerator for about a week–with a caveat: seal airtight because otherwise they’ll pick up scents from items in your refrigerator.
Other flavor options: matcha tea, cocoa powder, instant coffee, fruit powders (I order them from nuts.com). The flavorings are added to the cream cheese/egg yolk mixture. I eat a couple of these for breakfast each day (until they are gone and I begin to think about making the next batch.)